Introduction
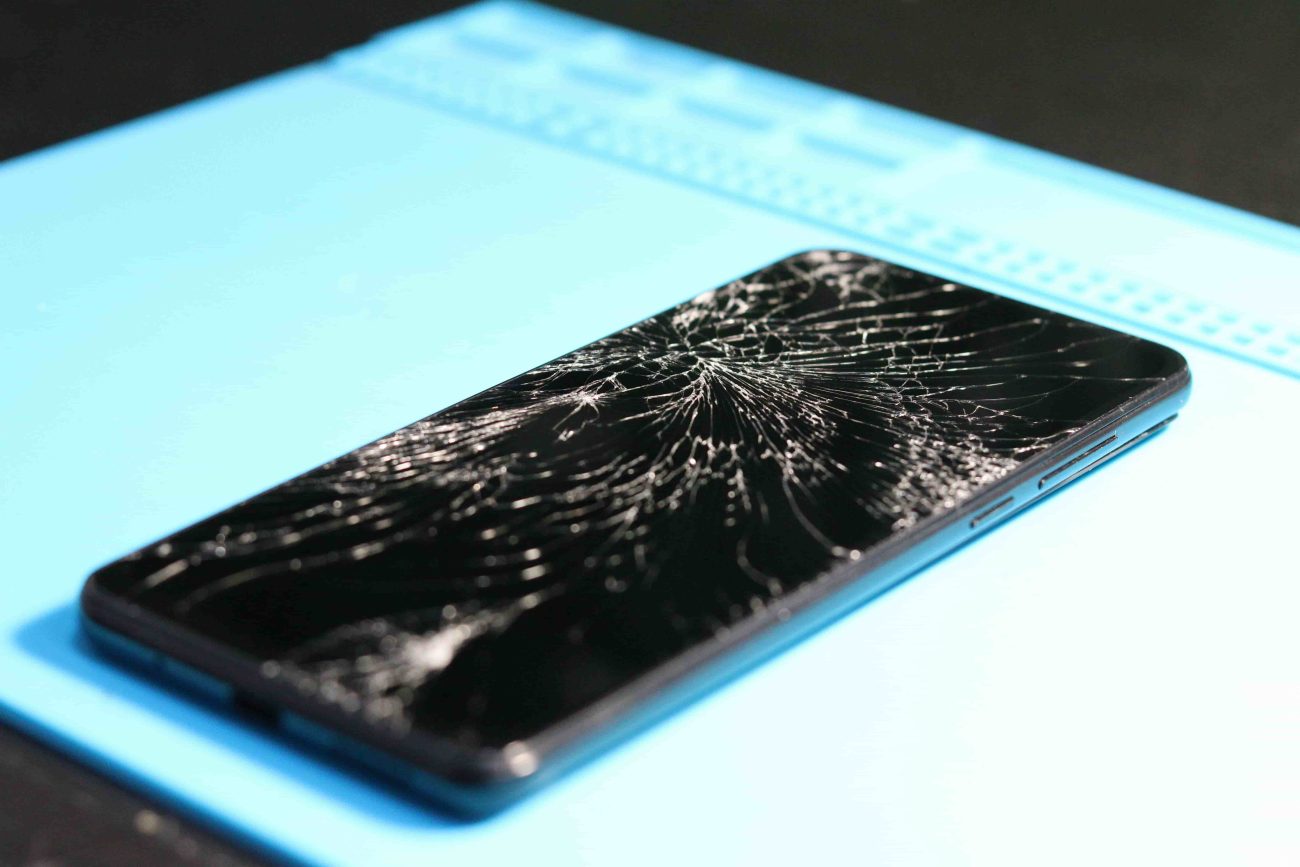
A cracked phone screen is one of the most common smartphone issues. It happens unexpectedly: a small drop, a bump on the table, or slipping out of your pocket. While the damage may seem irreversible, you don’t always need to replace the screen. This guide walks you through practical, low-cost solutions to fix a cracked phone screen at home.
Can You Really Fix a Cracked Screen at Home?
Yes — but it depends on the severity. If your phone has only minor cracks or surface scratches, you can improve its appearance and even functionality using some clever household methods. Deeper cracks or damaged touch functionality may require professional repair or screen replacement.
What You’ll Need
Before you start, gather these basic tools:
- A microfiber cloth
- Clear packing tape or screen protector
- Baking soda or toothpaste (yes, really!)
- A small brush or toothbrush
- UV light glue kit (optional)
- Nail polish (transparent)
- Cotton swabs
Method 1: Clean and Assess the Crack
Start with the basics:
- Turn off your phone.
- Gently clean the screen with a microfiber cloth.
- Check for glass splinters. If the screen feels sharp or is shedding glass, consider a professional fix.
Method 2: Use Clear Tape as a Temporary Fix
Clear packing tape can prevent further damage:
- Cut a piece of tape slightly larger than the crack.
- Carefully apply it to the cracked area, smoothing out bubbles.
- Trim the excess tape.
This protects your fingers and avoids dirt or moisture entering the crack.
Method 3: Apply Toothpaste or Baking Soda
Toothpaste and baking soda can fill in hairline cracks:
- Mix baking soda with a little water to make a thick paste.
- Use a cotton swab to gently rub the paste over the cracks.
- Wipe clean with a dry microfiber cloth.
Note: This method works only for minor cosmetic cracks.
Method 4: Fix with UV Glue or Nail Polish
For slightly deeper cracks:
- UV glue kits (available online) contain a liquid adhesive and a UV light to cure the glue.
- Apply a small amount of glue, spread it evenly with a plastic card, and cure it with UV light for a few minutes.
Alternatively:
- Transparent nail polish can be used.
- Brush it gently over the crack.
- Let it dry completely and clean off the excess.
Method 5: Install a Screen Protector
Even after DIY repairs, adding a tempered glass screen protector is a smart move:
- It helps hold the glass together.
- Prevents further cracking.
- Improves usability until you get a full repair.
When Not to Try DIY
If your phone screen:
- Has deep cracks that go across the whole display
- Shows black spots or discoloration
- Has lost touch functionality
- Is cracking more each day
…then DIY won’t help, and it’s time to consult a technician or get a screen replacement.
Bonus Tips for Preventing Future Cracks
- Always use a phone case with raised edges.
- Apply a high-quality screen protector.
- Avoid placing your phone in your back pocket.
- Keep it away from the edge of tables or sinks.
Final Thoughts
Fixing a cracked phone screen at home isn’t magic, but it can be a temporary and cost-effective solution. With common household items and a little patience, you can restore your phone’s look and protect it from further damage. But remember, these solutions are temporary — if you want a permanent fix, professional repair is your best bet.
|How to Make Your Phone Battery Last Longer: The Ultimate 2025 Guide
