Introduction
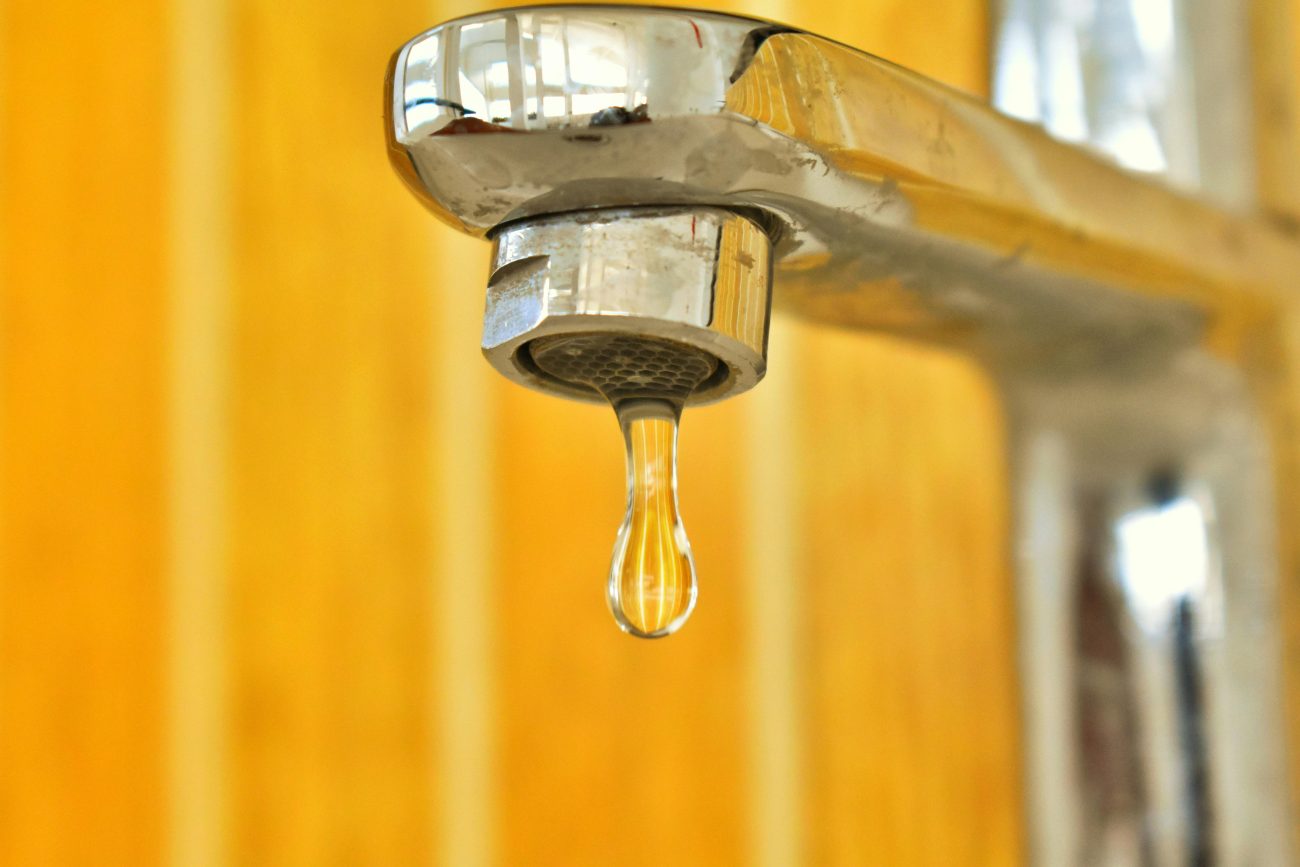
A dripping faucet wastes water, raises utility bills, and keeps you up at night with that endless plink‑plink. The good news: you can often fix a leaky faucet without a plumber in under an hour, even if you have zero plumbing experience. This 2025 guide covers compression, cartridge, ceramic‑disk, and ball faucets step by step, using easy‑to‑find tools and parts. Follow along, stop the drip, and save money.
Why Faucets Leak
| Cause | Typical Sign | Fix Overview |
|---|---|---|
| Worn rubber washer (compression) | Drip at spout when handle tightened | Replace washer & O‑ring |
| Damaged cartridge seal | Intermittent drip, sloppy handle | Replace cartridge |
| Cracked ceramic disks | Constant trickle, stiff handle | Replace disk assembly |
| Corroded valve seat | Drip at base & spout | Resurface or replace |
Water pressure, mineral deposits, and old age accelerate wear. By identifying your faucet type, you can target the correct repair.
Safety & Preparation
- Shut off the water at the supply valves under the sink.
- Plug the drain with a rag to catch small screws.
- Lay out tools: adjustable wrench, screwdriver set, Allen keys, plumber’s grease, replacement parts, towels.
Tip: Photograph each disassembly step so reassembly is foolproof.
Step‑by‑Step Fixes for Each Faucet Type
1. Compression Faucet (Old‑Style Two‑Handle)
- Pry off the decorative cap; unscrew the handle.
- Remove the packing nut with a wrench.
- Unscrew the stem. Inspect the rubber washer at the bottom—often flattened.
- Replace washer with identical size (#00–#4 range).
- Swap the O‑ring on the stem to stop leaks at the handle base.
- Grease threads, reassemble, and restore water.
2. Cartridge Faucet (Single‑Handle or Two‑Handle)
- Unscrew set‑screw under the handle (Allen key).
- Lift off the handle and retaining clip.
- Pull out the cartridge using pliers.
- Match and buy an exact replacement (take it to the store).
- Grease O‑rings lightly; insert new cartridge; reinstall clip and handle.
3. Ceramic‑Disk Faucet
- Remove handle cap and screw; lift handle.
- Unscrew disk cylinder retaining nut.
- Lift the ceramic cartridge; inspect rubber inlet seals underneath.
- Replace seals or full cartridge if cracked.
- Reassemble; open water gradually—disks crack under sudden pressure.
4. Ball Faucet (Older Delta‑Style)
- Remove handle with Allen wrench.
- Unscrew cap and collar; use needle‑nose pliers to remove cam, packing, and ball.
- Replace rubber seats and springs.
- Align the new ball with valve slots; grease O‑rings.
- Reassemble; adjust collar tension until leak stops but handle moves smoothly.
Deeper Fix: Corroded Valve Seat
If leaks persist in a compression faucet after washer replacement, the valve seat may be pitted. Use a seat‑grinding tool (seat dresser) to resurface, or unscrew and replace the seat entirely.
Preventive Maintenance Tips
- Turn faucets off gently; over‑tightening crushes washers.
- Flush aerators quarterly to remove sediment.
- Install inline filters if water is hard or gritty.
- Exercise shutoff valves twice yearly so they don’t seize.
Frequently Asked Questions
Q1: My faucet still drips after replacing parts—why?
A: Check for scratches on the valve seat or debris trapped inside the cartridge channel.
Q2: Can I use generic parts?
A: Always match size and type; for cartridges, brand‑specific parts seal best.
Q3: Is plumber’s tape necessary?
A: Usually not inside faucets; use plumber’s grease on O‑rings and threads instead.